| AutoFEM Analysis Creating New Material | |||||||
| AutoFEM Analysis Creating New Material | |||||||
A library of the most widespread construction materials is supplied together with the system ( the file: AutoFEM materials.ml ). The library is attached to the system and may not be changed by the user.
To open the Material Library window use the command:
Command Line: |
_FEMAMATERIAL |
Main Menu: |
AutoFEM | Material Library |
Icon: |
|
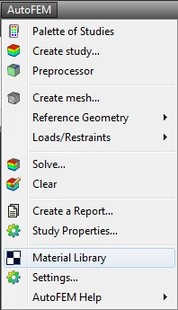
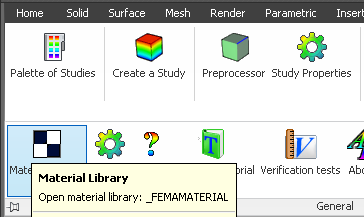
Ways to open AutoFEM Material Library from main menu (left) and AutoFEM Ribbon (right)
Fulfil next steps to create new material library and material.
1. Create own material library. In order to use for calculation the one’s own material, one should firstly create his/her material library.
To do this, the user should click on the button ![]() in the left of the attached library list and select the command "Attach / Detach material library".
in the left of the attached library list and select the command "Attach / Detach material library".
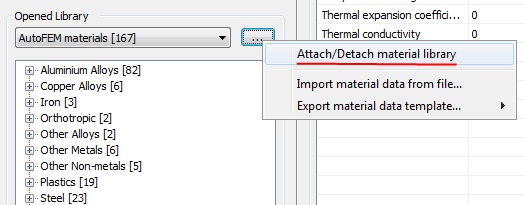
Opening the window of available libraries
In the opened dialogue window of the available material libraries, press the button "New" and save a file of a new library in a desirable place.
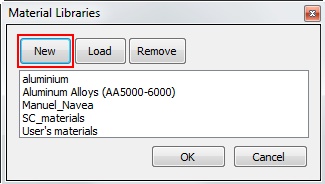
Press "New" button to create new library
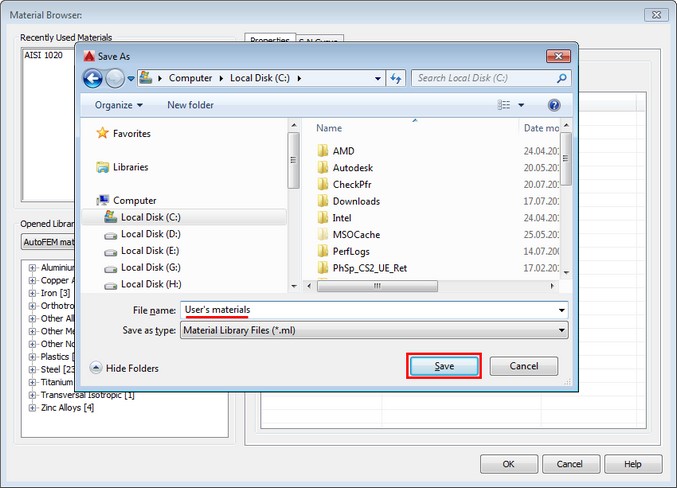
Type the User's library name and press "Save".
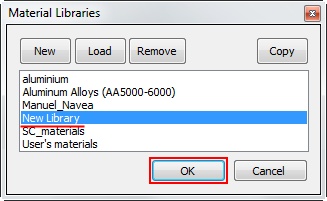
Select the new library of materials to attach it to the active library list
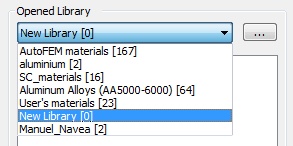
2. Set the current material library. Select just created library as the current material library. The number of materials in the library is shown on the left of the library name.
Setting the current material library
3. Create a material group. Then, after selecting the user’s library as the current one, the user should select the existing group of materials or create a new one. If no groups of materials are in the library, you need to set the group before creating the material. To do this, it is necessary to click ![]() in the empty field and select command "Create new group".
in the empty field and select command "Create new group".
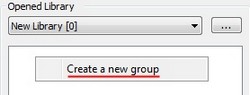
Creating new material group
4. Create a new material. Activate the context menu by clicking ![]() on the name of the group and selects command "Create new material".
on the name of the group and selects command "Create new material".
It should be noted that the user also can rename, copy (including between libraries) and delete materials on the list.
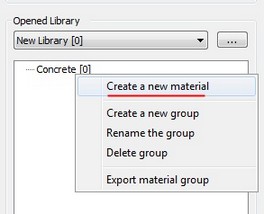
Retrieving the command of new material creation
Assigning the material type and name
5. Assign material properties. Use the contextual menu or double click of mouse to open a special dialogue box and edit a desirable material property. Besides constant values, the user can also define a temperature dependence curve for any material property.
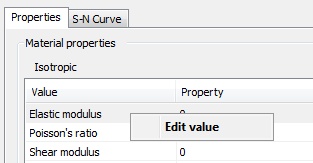
Contextual menu
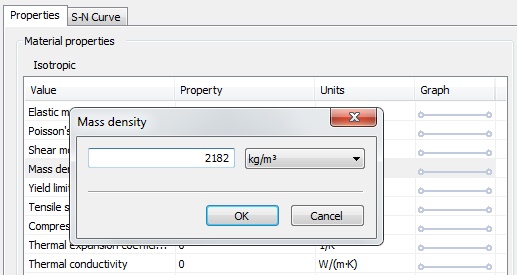
Editing material property
6. Save the data. After filling all necessary data, press "OK" button of the Material Browser. The system will ask a confirmation to save changes.
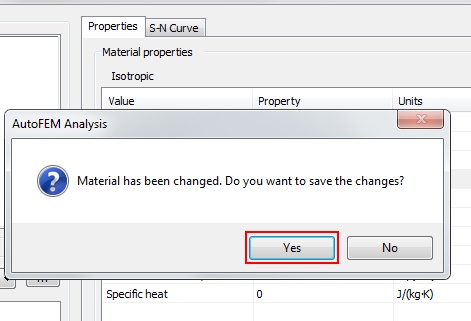
Confirming the material modification
A brief compendium of a typical order of actions to create the new material:
1.Create a new user’s library of materials or open the existing one.
2.In the user’s library of materials, select the existing group of materials or create a new one.
3.When the cursor is on the group of materials, activate command "Create a new material" in the context menu.
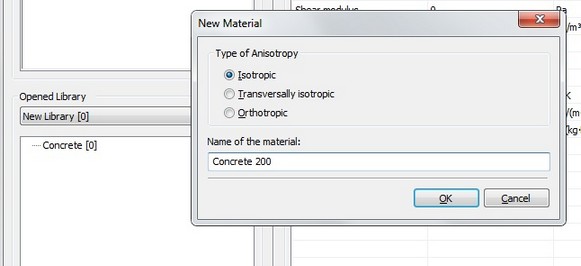
4.Choose the material type: “Isotropic”, “Orthotropic” or “Transversally isotropic” and set up the name of the material. After OK is pressed, the new material will appear in the selected group of materials.
5.Select the newly-created material from the list of materials and fill in the material’s parameters, choosing them by a double click in the window of the material’s properties on a corresponding property line or activating a contextual menu.
6.Press OK in the Material Browser dialogue to save the data.
See also: Assigning Material, Creating New Material from Template, Anisotropic Materials, Temperature Curves, S-N Curve, Assigning Thicknesses, Export / Import of Materials, Getting Materials from ShipConstructor, Physical Properties